Preparations before the shot
Once you have checked your equipment and made sure that it is safe to proceed with the test we can turn to the actual zeroing of the rifle. We recommend using a bench rest for support. It is best to rest the rifle and keep it steady on the front part and make minor target corrections with the back. This type of support ensures that you achieve a high degree of accuracy and repeatability which is of course what you want for zeroing.
There are several things you need to pay attention to when zeroing. Firstly, wear your ear protection. Then shoulder the rifle and make sure that you position your body in a good shooting position for 3-point support.
Setting up the optics
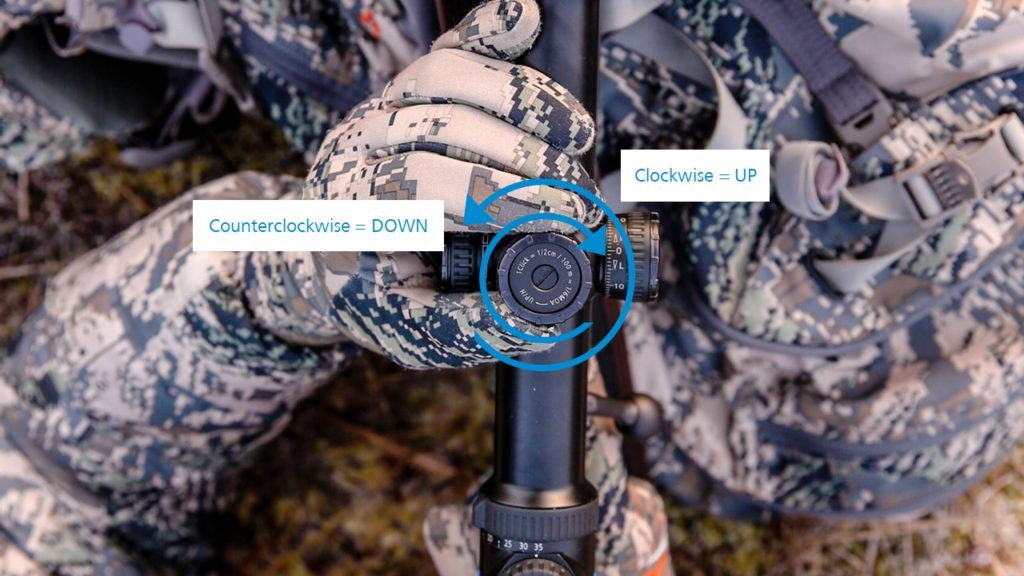
Next, it is time to set up the optics. Double check that the eye relief is perfect meaning that you see a clear image without any shadows when looking through the scope. The optics has three adjustment settings. In addition to height, elevation and windage there is also the magnification change, the diopter adjustment and the illuminated dot.
Firstly, set your desired magnification. Then take a look at the reticle. When it does not appear crisp or clear turn the diopter adjustment until it is no longer blurry. Now it is time to set the intensity of the illuminated dot. After this step the optics are ready.
Basic alignment of optics and barrel
Once you aligned and checked the rifle, checked your optics and the bench rest support is comfortable, it is now time to fire the first shot. If this is a new rifle and new optics or if you have remounted the optics you will have no idea where the shot will go. Because of this we recommend to boresight the rifle.
Remove the bolts and look down the barrel at the target. Keep the rifle absolutely steady and move up to the optics. Align the barrel first, then the optics. See if the barrel shows the same picture you can see in the optics. This gives a rough alignment and the shot will hit the target. It doesn’t matter if it doesn’t hit dead center. You will fine-tune the elevation and windage later. Now it is time for the first shot.
Zeroing in at 100m
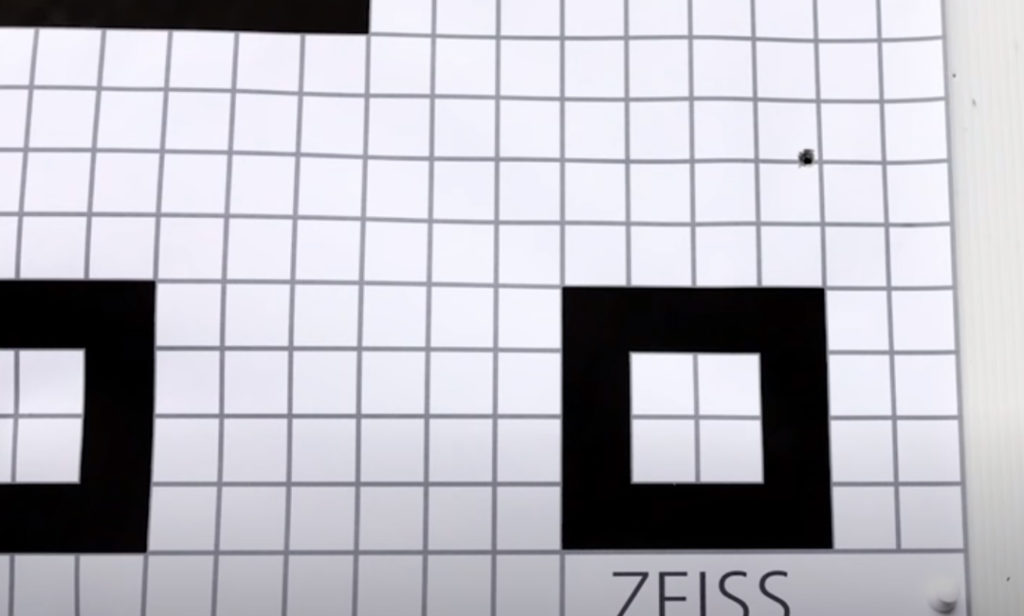
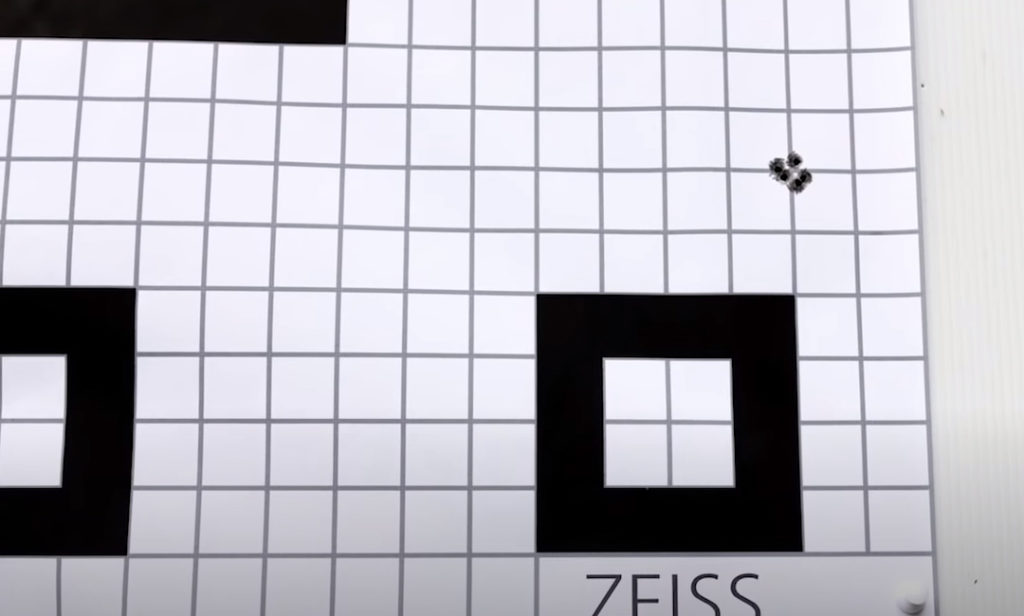
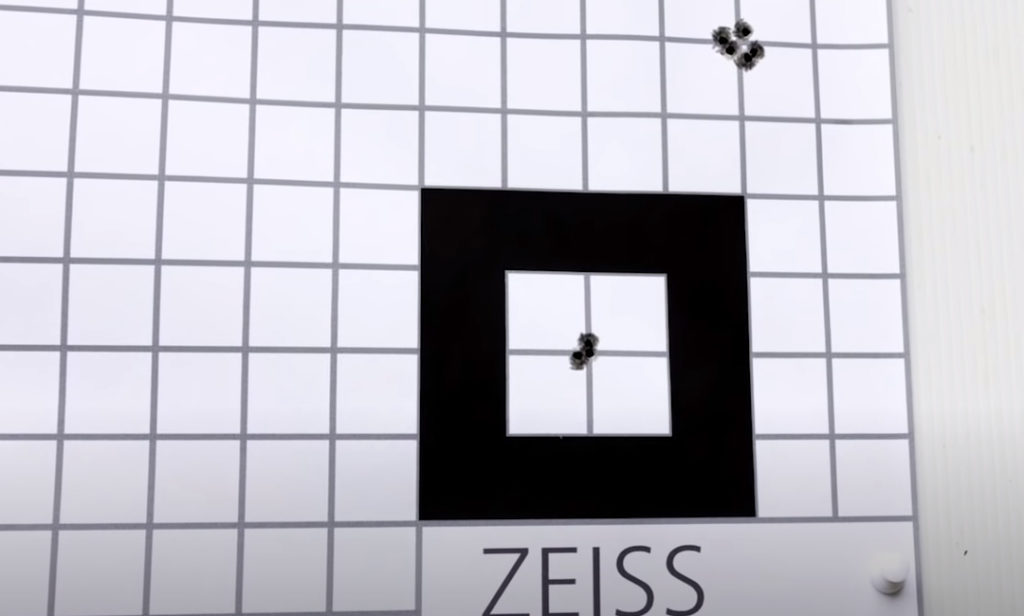
After you determined that the first shot is on target evaluate your result without making any adjustment to the set up. If you adjust anything at this stage you would not know if your shot was off due to your rifle set-up or because you are a bad shot.